
Watch the Tutorial below on how to connect to a Minecraft Server Australia server via FTP through Multicraft and an FTP Program Filezilla.
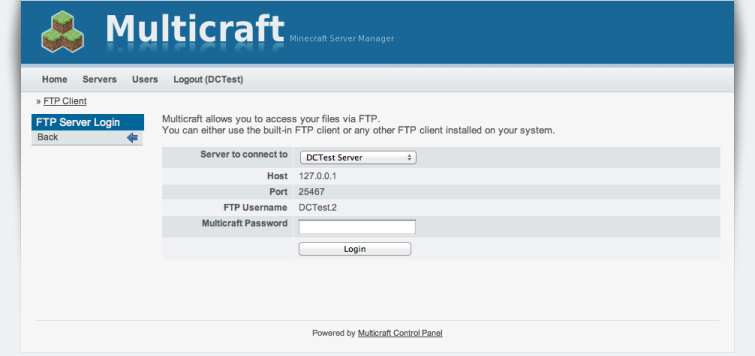


On the left hand menu in Multicraft you will see a link to FTP Files Menu. When first entering the file manager you will be prompted to enter a password, simply enter your Multicraft control panel password.
Once logging in you will be presented with the directory structure of your server. Initially you will be in the 'root' folder of your server. Using this interface you may create directories or files or upload files using the options on the left hand side. Its also possible to move, delete or rename files by ticking the files you wish to select and then clicking on the appropriate button.
You may use the 'edit' option on the right of a file to read and edit files such as configurations and logs. Any changes you make can be saved by using the save button. If a file is too large it is not possible to edit it using the web based file editor and will need to be edited using an FTP client like Filezilla (www.filezilla.org)
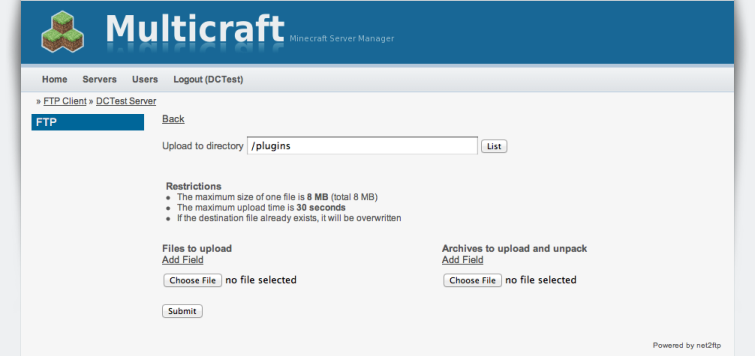
To upload files such as plugins, simply browse to the folder in which you wish to upload them. In the case of plugins this will be the 'plugins'. Click on 'upload' in the left hand navigation.
Click on the 'Choose File' Button to select the plugins you wish to install (you may upload more than one plugin at a time, by adding more fields. It is also possible to upload and decompress zipped files (rar/tar not supported). Zipped files will automatically be decompressed after upload. Please note there is a 2mb upload limit for files using the web based file manager. For larger files such as worlds you will need to use an FTP client.
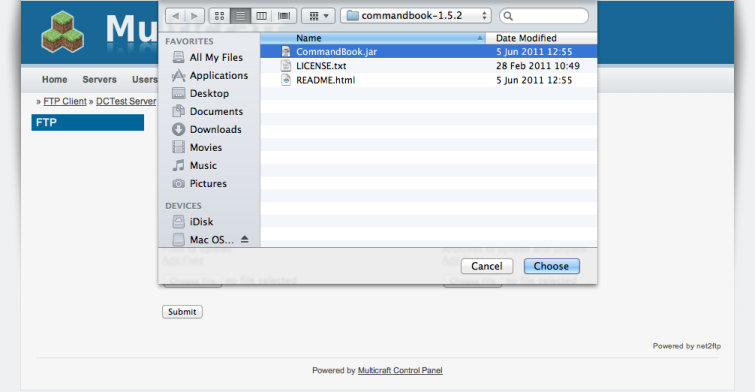
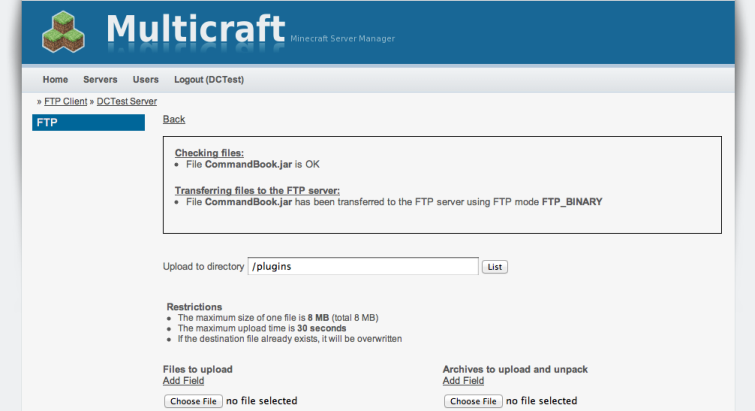
Once a file is uploaded you may add additional files by selecting choose file again. Once you have added all the files you wish to upload click submit.
To enabled plugins after uploading you will need to restart the server.
